
Family-Owned Business with 5-Star Google Reviews

Roof Dryer Vent Cleaning: 7 Checks Before the Job Is Done
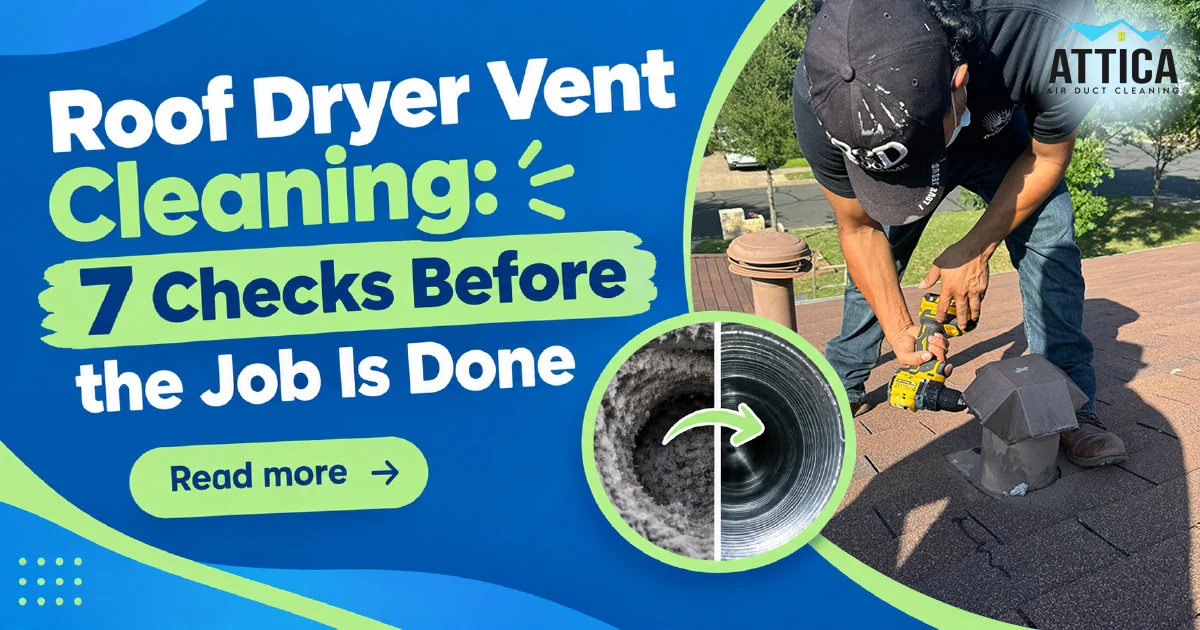

A pile of removed lint tells you material came out of the dryer vent. It does not tell you whether the roof cap opens properly, whether an attic section is damaged, or whether the original drying problem has been addressed.
Roof dryer vent cleaning needs a review of the accessible exhaust route and an explanation of the results. The final conversation should cover what was cleaned, what was checked, and what still needs attention.
Attica technicians Leo and David bring two useful perspectives to that review. Leo concentrates on the route, accessible attic sections, and roof termination. David focuses on performance checks and a record the homeowner can refer to later.
Here are seven checks to discuss before the job is done.
1. Establish the Vent Route and Its Limits
Leo begins with the layout:
“Before I touch any lint, I trace the whole run from the dryer to the roof.”
— Leo, Attica technician
Ask the technician to explain the route as far as it can be established. Where does the duct enter the wall? Which sections can be seen in the attic? Where are the visible turns? Which parts remain concealed?
A roof exit can involve a long or indirect route, but the exit location alone does not establish its length. The actual installation needs to be assessed.
Ask whether the route was observed directly, checked with inspection equipment, or partly inferred. If concealed sections prevent confirmation of the total length or elbow count, those figures should be described as estimates.
Leo’s broader point is that cleaning cannot correct every layout problem:
“Cleaning without fixing the route just schedules the next call.”
— Leo, Attica technician
That is a reason to identify existing defects, not a reason to assume every roof vent needs rerouting. Any proposed change should have a specific finding behind it.
Before the job is done: You should understand the known route and what could not be inspected.
2. Check the Connection Behind the Dryer
The connection immediately behind the appliance deserves attention even when the roof is the main access point.
Ask whether the connector is damaged, compressed, or kinked. It should also be checked after the dryer is moved back into position, when an otherwise open connection can become crushed.
The Building America Solution Center’s dryer-venting guidance distinguishes a listed appliance transition connector from the smooth metal exhaust duct. Installation should follow manufacturer instructions and applicable local requirements.
Removing lint does not repair a damaged connector or make unsuitable concealed material appropriate. If the technician identifies a defect, ask what correction is needed and whether it is included in the agreed service.
Before the job is done: Confirm that visible connection concerns have been explained and the appliance has been repositioned without crushing the connector.
3. Inspect the Roof Cap and Damper
A restriction at the outlet can remain after the duct below it has been cleaned.
Leo reports a recurring finding in his own work:
“Most roof caps I open have a damper stuck half open or a screen that should never have been there.”
— Leo, Attica technician
This is his field observation, not a measured claim about all roof caps. It explains why the termination needs its own check.
Building America guidance advises against screening dryer exhaust outlets, where lint can collect. The technician should evaluate the cap design, inspect accessible buildup, and check damper operation.
Ask for photographs of the termination. If water entry or a flashing defect is suspected, ask whether a roofing professional should investigate it. Cleaning a vent does not automatically include roof repairs.
Homeowners should stay on the ground. If the cap cannot be seen clearly from there, use the technician’s photographs or video rather than a ladder. A moving flap is a useful observation, but it cannot establish that the entire exhaust system performs correctly.
Before the job is done: Ask what was found at the cap, whether it operates as intended, and whether any concern remains.
4. Review Accessible Attic Sections for Damage or Moisture
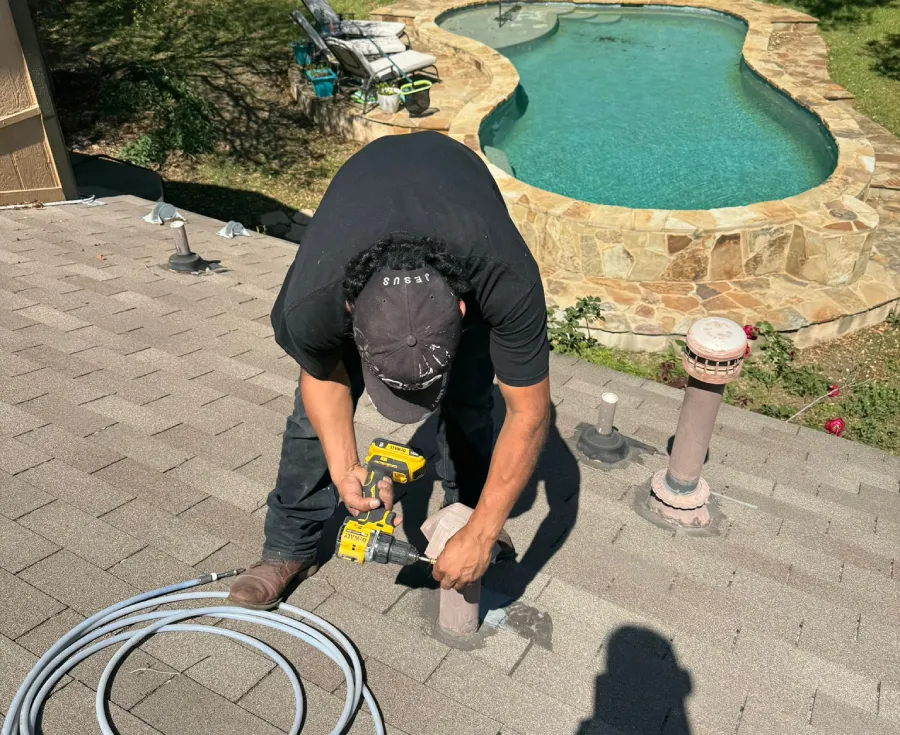
An attic inspection can reveal something the pile of removed lint cannot: the condition of the duct carrying the exhaust.
Leo explains one of his checks:
“I check that the duct is supported every few feet and doesn’t sag between rafters.”
— Leo, Attica technician
That describes his working approach, not a universal spacing requirement. Required support and installation details depend on the applicable instructions and requirements.
Ask about visible sagging, crushed sections, separated joints, or evidence of moisture. If damp material or staining is present, the cause needs consideration; attic temperature alone does not explain every condensation or water-entry problem.
You should not have to diagnose the installation yourself. Ask the technician to identify the observed condition, show available evidence, and explain who should evaluate or correct it.
Before the job is done: Find out whether any visible duct condition remains that cleaning alone cannot address.
5. Ask How Performance Was Tested
David treats measurement as part of the review:
“Lint removal is half the job. I measure airflow at the dryer connection before and after cleaning.”
— David, Attica technician
Ask for more than a statement that the number improved. A useful result identifies what was measured, the measurement location, the units, and the conditions used for the comparison.
For example, were both readings taken with the same test setup? Was the appliance operating under comparable settings? How was the result assessed against the requirements for that dryer?
Whirlpool’s venting specifications discuss airflow and back pressure at the connection between the appliance and vent system. The appropriate assessment should follow the requirements and test method relevant to the installed model.
An increased reading does not establish that every problem has been resolved. An unchanged reading does not necessarily identify a crushed duct or disconnected joint. The initial condition, appliance, and test setup affect interpretation.
Before the job is done: Ask for the readings and a plain-language explanation of what they establish.
6. Return to the Problem That Prompted the Call
Was the dryer taking longer than usual? Were towels still damp? Had a check-vent warning appeared?
David identifies a symptom that often starts the conversation:
“The clearest sign of a restricted roof vent isn’t lint on the roof. It’s a dryer that takes two cycles for one load of towels.”
— David, Attica technician
Long drying times justify investigation, but they do not diagnose a restricted vent on their own. Load size, settings, washer extraction, and appliance faults can also affect the result.
Whirlpool’s long-drying-time guidance identifies restricted airflow as a likely cause when the dryer heats but takes too long to dry. If the original symptom continues after vent service, further evaluation may be needed.
Explain what changed from your dryer’s normal behavior. After service, compare similar loads and settings rather than assuming every load should finish in the same time.
If you notice smoke, a burning smell, or apparent overheating, stop using the dryer and have it evaluated. Do not keep running loads through an unresolved problem.
Before the job is done: Agree on what to watch for and whom to contact if the symptom continues.
7. Keep the Documentation and Set a Review Date
David explains the record he aims to leave:
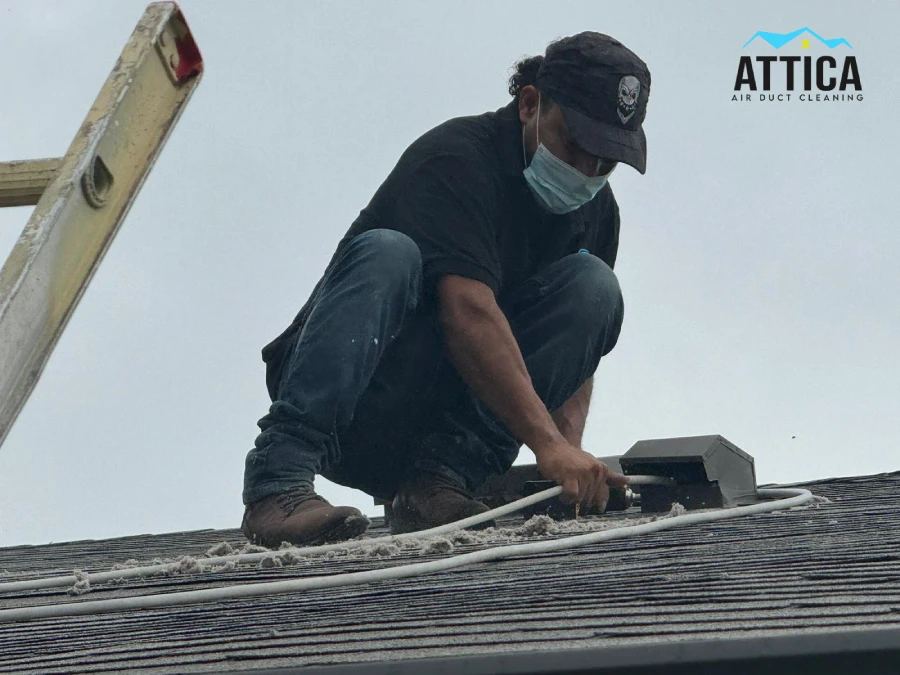
“Every dryer vent job gets photos of the roof cap before and after, the airflow reading, the duct length, and the elbow count. That record is what lets us compare next year and catch a problem early instead of after a failure.”
— David, Attica technician
Ask for estimates to be labeled and access limitations to be recorded. If a roof cap could not be reached or a section could not be inspected, the record should say so.
Documentation also needs context. A future technician should be able to understand how a reading was taken before treating it as directly comparable with another test.
For maintenance planning, David recommends:
“If your vent exits through the roof, plan on a yearly inspection.”
— David, Attica technician
Treat that as his starting recommendation. The actual inspection and cleaning schedule should reflect the dryer’s instructions, use, vent configuration, and findings. An inspection does not automatically mean cleaning is necessary, and a new symptom is a reason to seek advice before the next scheduled visit.
Before the job is done: Save the record and agree on a suitable follow-up interval.
Your Roof Dryer Vent Cleaning Review Sheet
| Check | Question for the technician |
|---|---|
| Route | Which sections were inspected, and which remain concealed? |
| Connection | Is the connector sound and correctly positioned behind the dryer? |
| Roof cap | Was the termination inspected and its operation checked? |
| Attic sections | Were damage, moisture, or support concerns found? |
| Performance | What was measured, and how was the result interpreted? |
| Original symptom | What should I do if the drying problem continues? |
| Documentation | Can I keep the photos, readings, and service notes? |
Common Questions About Roof Dryer Vents
Does every roof vent have to be cleaned from the roof?
The appropriate access method depends on the route, condition, equipment, and safe access. Ask how the accessible duct will be cleaned and how the exterior termination will be evaluated.
Does an opening roof-cap flap prove the vent is clear?
No. It is one observation. It does not confirm the condition of hidden sections or replace an appropriate performance check.
Will vent cleaning fix a dryer that still takes too long?
It can address lint restrictions in the serviced route. It cannot repair every appliance fault or correct every installation problem. Persistent symptoms need follow-up rather than an assumption that another cleaning is the answer.
Arrange Roof Dryer Vent Cleaning With Attica
Attica provides dryer vent cleaning in Austin, Georgetown, and the surrounding area. We explain the applicable price upfront based on the vent and required work.
When booking, mention the roof exit and describe any changes in drying performance. Share what you know about the dryer location and access, then ask what cleaning, inspection, testing, and documentation will be included.
Call 737-264-7555 to discuss your vent. We will help you understand the proposed service and any concerns that may need attention beyond lint removal.