
Family-Owned Business with 5-Star Google Reviews

Air Duct Cleaning Before and After: 7 Photo Checks
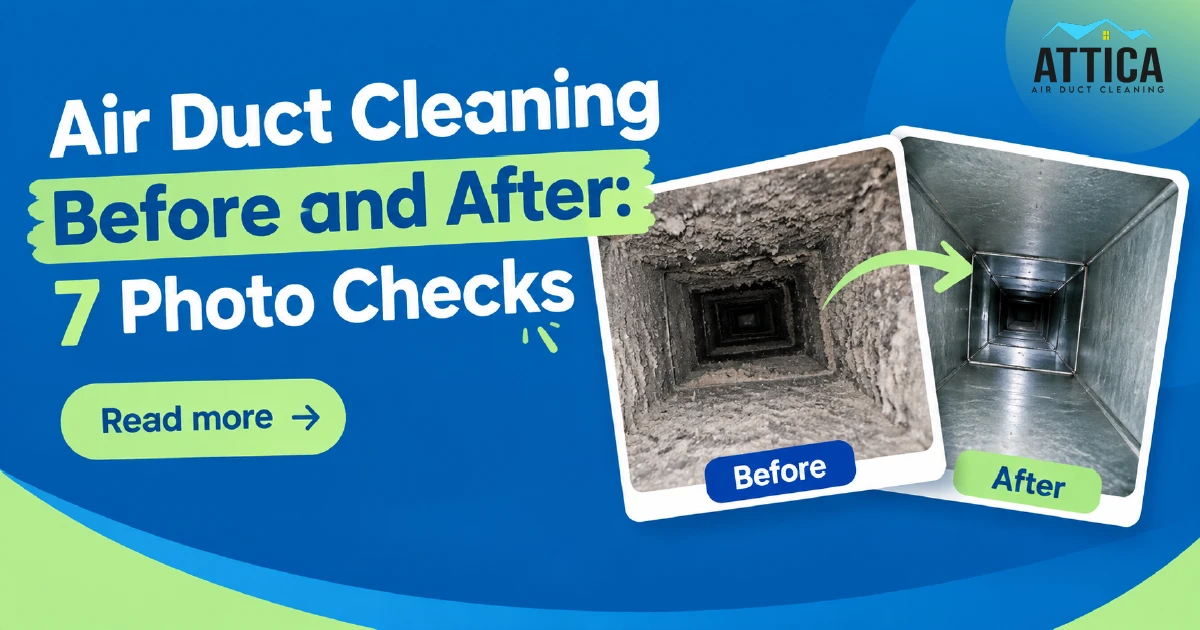

A dusty duct appears on the technician’s screen, followed by a cleaner one. The difference looks impressive. Before you accept those pictures as the final review of your service, ask one question: Am I looking at the same place in my own system?
Useful air duct cleaning before and after photos should tell a story you can follow. They should identify the component, show what changed, and help you understand the work completed. A close-up without a location or explanation leaves too much to guess.
At Attica Air Duct Cleaning, technicians Leo and David approach documentation from complementary perspectives. Leo concentrates on getting a fair comparison inside the duct. David focuses on identifying the components and explaining what the evidence means.
Their advice gives Austin and Georgetown homeowners seven practical checks to use during the final review.
1. Match the Location Before Comparing the Results
Leo describes the basic rule behind his photographs:
“A before-and-after photo only means something if it’s the same spot, same angle, same light.”
— Leo, Attica technician
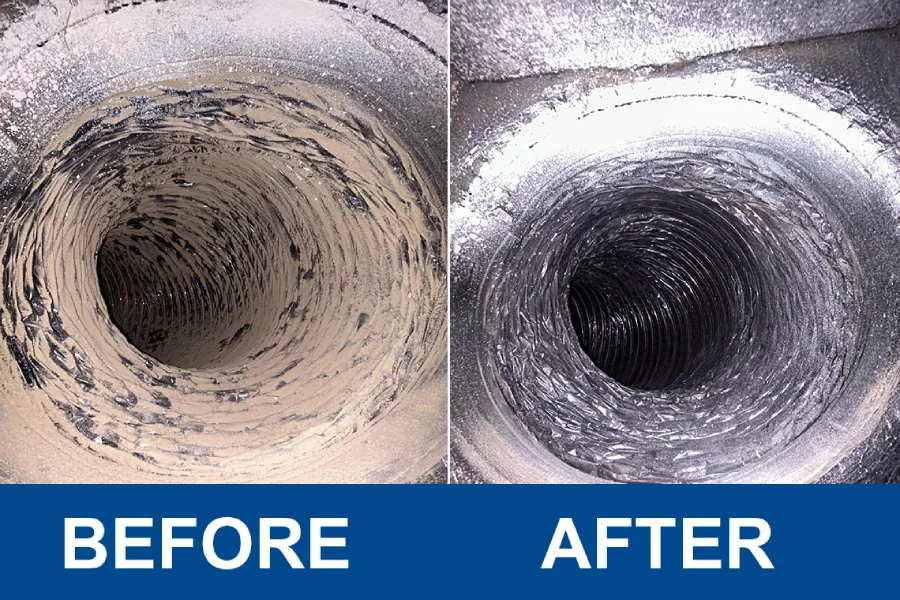
Look for a recognizable feature in both images: a seam, bend, joint, or the pattern of the duct lining. A dusty return duct and a clean supply duct might both belong to your home, but placing them together does not demonstrate a change in either location.
David suggests starting with identification:
“Ask two questions when you see before-and-after photos: which component is this, and where is it in my system?”
— David, Attica technician
An answer such as “the first accessible section behind the hallway return” gives you something specific to work with. If the images are difficult to place, ask the technician to explain the route or show available camera footage.
Your check: Can you identify the same component and a matching feature in both photographs?
2. Check the Angle, Distance, and Lighting
Even photographs of the same duct can be hard to compare when the camera moves.
A close-up of a dusty corner shows different information from a wide view down the center. Brighter illumination can reveal material that a shadow hides. Neither difference automatically means something is wrong, but it can make the comparison inconclusive.
Leo explains how he tries to avoid that problem:
“I shoot the inside of the duct with the camera parked at the register opening, and I take the after shot from the exact same position.”
— Leo, Attica technician
Ask for a similar view when practical. Where an obstruction or access limitation prevents a matching image, the technician should explain what changed between shots.
You do not need a professionally lit gallery. You need photographs that let you evaluate the same surface without guessing what is outside the frame.
Your check: Are the viewpoint and lighting similar enough to judge the result?
3. Look Behind the Register Cover
A clean vent cover is a visible improvement. It does not document the condition farther inside the duct.
Leo draws attention to the difference:
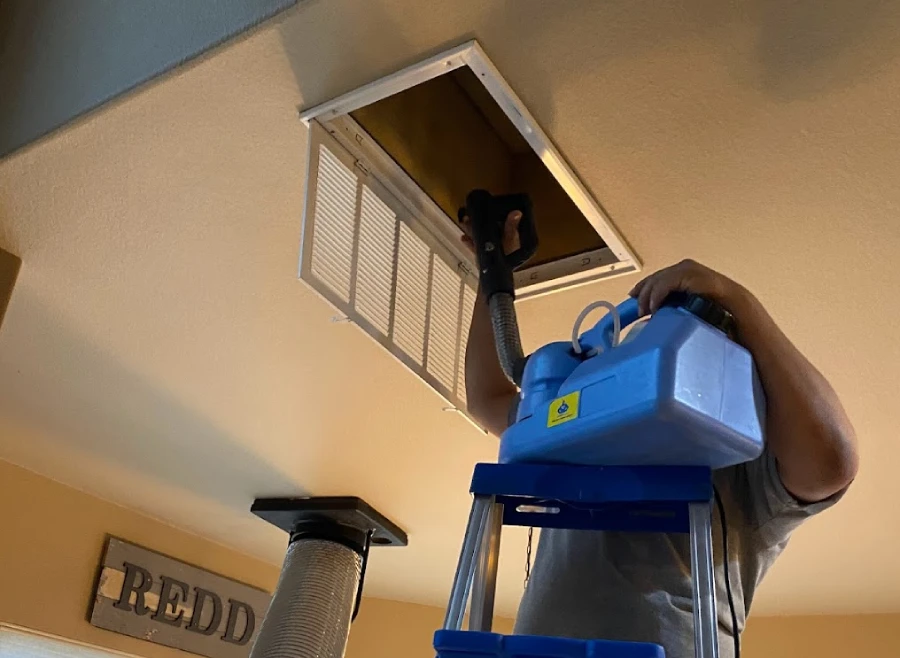
“What matters is the first few feet of duct behind the register and the main trunk line. If a company can’t show you that, ask why.”
— Leo, Attica technician
The explanation may be a legitimate access limitation. The important point is to discuss it rather than assume that a photograph of the cover represents the whole system.
Ask which accessible duct sections and other components were included in the approved work. The EPA’s post-cleaning checklist includes checks across relevant HVAC components, not just the room-side grilles.
Your check: Does the documentation show accessible interior areas as well as the covers you can already see?
4. Judge the Surface According to Its Material
Flexible duct and sheet-metal duct do not look alike on camera. Their construction affects the texture, reflections, and features you should compare.
For flexible duct, Leo recommends paying attention to more than the open center:
“A good after photo on flex duct shows clean ridges, not just a clean center.”
— Leo, Attica technician
Ask the technician to point out the lining and explain its condition. A dark fold or shadow should not automatically be labeled contamination. Likewise, a photograph that hides the folds may not give you enough information to evaluate the visible surface.
David makes a related point about older metal:
“Clean doesn’t mean shiny. Older metal duct will be dull and may show surface staining that no cleaning will remove.”
— David, Attica technician
NADCA’s cleanliness-verification guidance focuses on visible particulate cleanliness. It does not treat that inspection as a determination of microbial contamination or hazardous materials.
Cleaning should suit the material and its condition. Ask about visible liner damage or other concerns rather than judging success by whether the duct looks new.
Your check: Has the technician explained what is debris, what is original material, and what needs separate evaluation?
5. Separate Cleaning From Coating or Replacement
A dramatic color change deserves an explanation.
If a component was coated, repaired, or replaced, the after photograph should say so. A bright white surface after restoration documents a different kind of work from the removal of dust from the original surface.
Attica’s air duct cleaning service page explains that selected plenum-restoration work is evaluated separately from routine duct cleaning. The plenum is an air-distribution or collection chamber near the HVAC equipment.
For any additional approved work, ask that the service notes identify the component and the work performed. Where available, a photograph after cleaning but before coating can help distinguish those stages.
Your check: Do you know whether the pictured area was cleaned, restored, or replaced?
6. Match the Photo Set to the Agreed Scope
One convincing image cannot account for every part of a larger job.
David describes the value of organized documentation:
“Each photo gets a label with the room and the date. That consistency is what lets a homeowner compare one year to the next, and it’s what NADCA practice points toward.”
— David, Attica technician
His labeling approach is a practical way to organize a record; it should not be read as a claim that NADCA requires that exact naming format.
Compare the photographs with the estimate and service notes. Ask which areas were cleaned and photographed, which could not be photographed clearly, and which could not be accessed. If an area was excluded from the scope, that should be clear too.
Leo emphasizes the conversation around the images:
“That’s why I walk the customer through the system, not just the photos.”
— Leo, Attica technician
You do not need hundreds of pictures. You need enough context to understand the completed work and its limits.
Your check: Can the technician account for the agreed scope, including any incomplete work or access limitations?
7. Understand What Air Duct Cleaning Before and After Photos Cannot Prove
David describes the limit of photographic evidence:
“The photo is proof of condition at one point. The process is what you’re paying for, and that’s a conversation, not a picture.”
— David, Attica technician
Ask how loosened debris was collected and what cleaning method was used. A finished image alone does not document every step that produced it.
Photos also cannot establish a reduction in energy use, an improvement in airflow, or relief from allergy symptoms. Those are different claims requiring different evidence. The EPA states that duct cleaning has not been shown to prevent health problems.
If you booked because of an odor, weak airflow, or another concern, discuss that concern separately during the final review. A cleaner photographed surface does not automatically explain whether the original problem has been resolved.
Your check: Are the conclusions limited to what the photographs and any separate tests actually demonstrate?
Keep a Record You Can Use Later
Save the photos with the invoice and service notes. A simple record is easier to use than a collection of unlabeled images.
| Item | Detail to retain |
|---|---|
| Before and after pairs | Component, location, and date |
| Approved scope | Areas included and work completed |
| Access limitations | Sections that could not be inspected or serviced |
| Additional work | Separately approved repair, coating, or replacement |
| Follow-up | Remaining concerns and recommended next steps |
Common Questions About Cleaning Photos
Does one clean duct photo prove that the whole system is clean?
No. It shows the area within the frame. Ask how that image fits into the documentation of the agreed work.
Should flexible duct look like clean metal duct?
No. The materials have different textures and finishes. Ask the technician to explain the visible lining and whether it is in serviceable condition.
Can a photograph confirm mold?
A photograph can record a suspicious condition, but appearance alone does not establish its identity. Ask whether further assessment is appropriate.
Review Your Results With Attica
At Attica Air Duct Cleaning, we provide before-and-after photographs of accessible duct areas and explain our findings before cleaning begins.
If you are arranging an appointment in Austin, Georgetown, or the surrounding area, tell us what prompted your enquiry. Ask about the inspection arrangements, proposed scope, and documentation you can expect.
Explore Attica’s air duct cleaning service or call 737-264-7555. We want you to understand both the work recommended and the results you are shown.